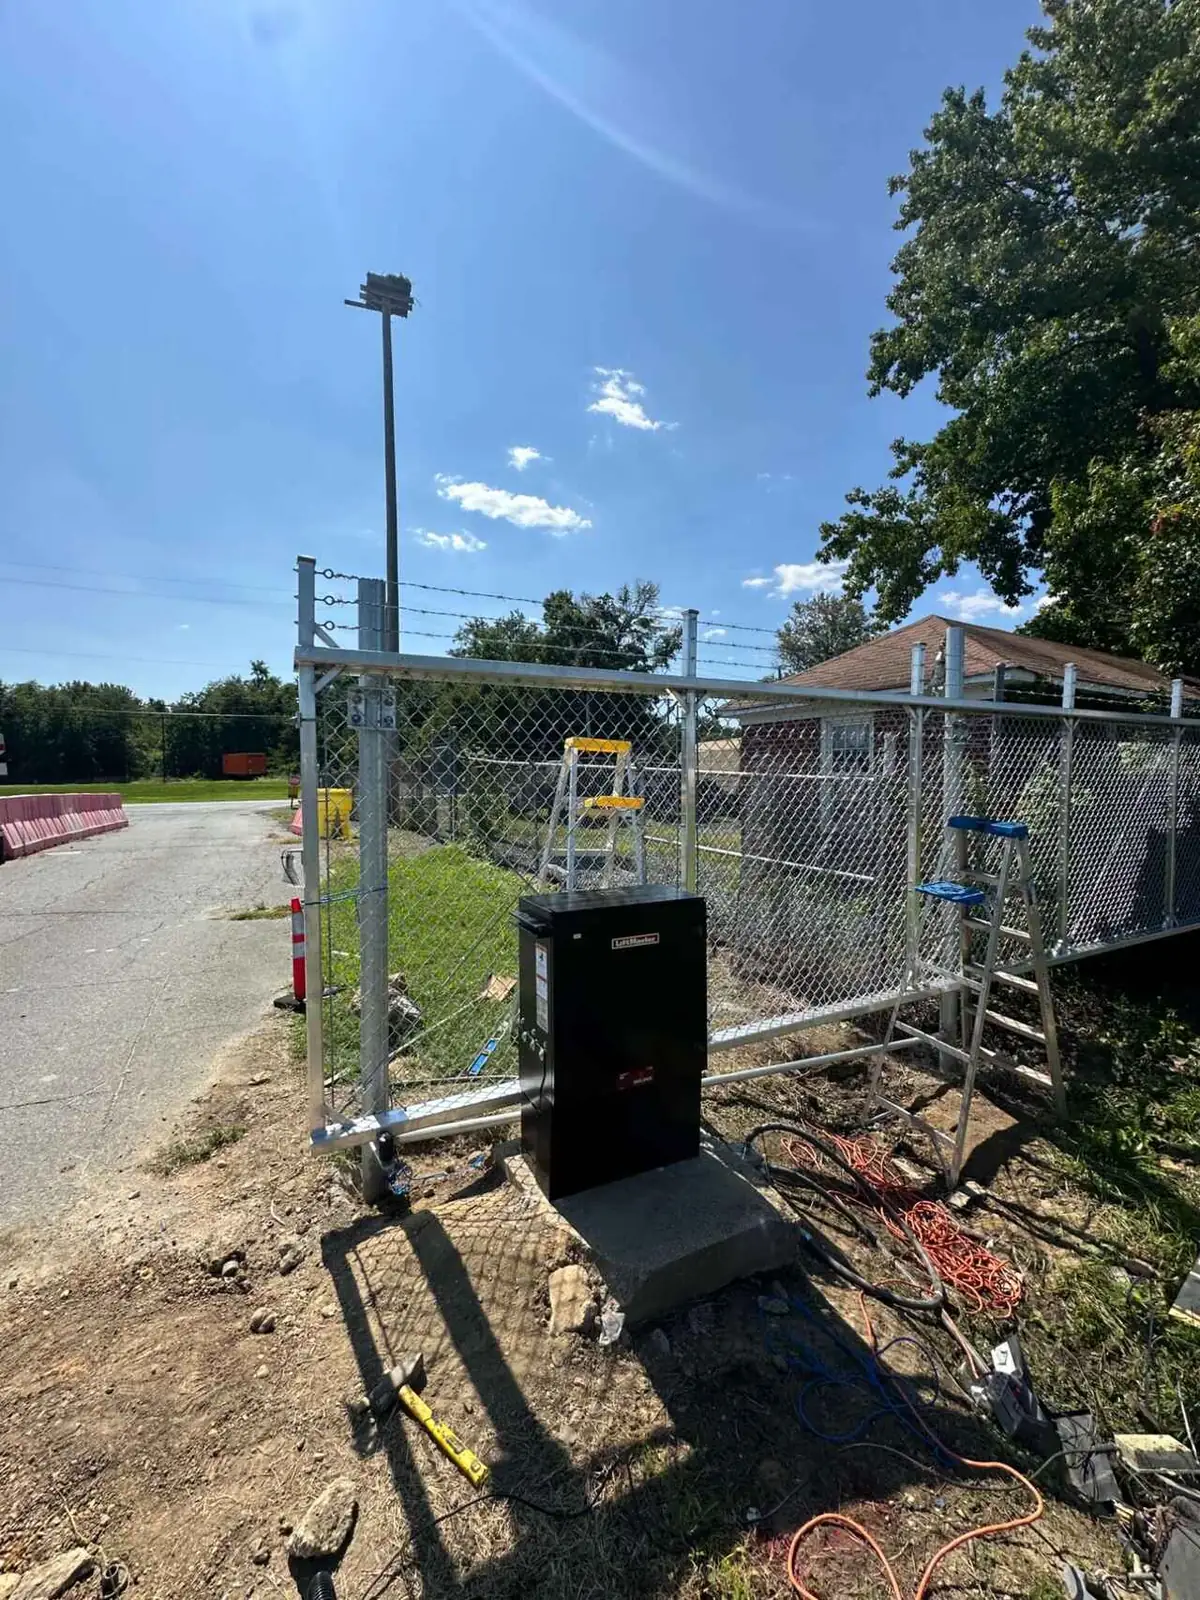
A driveway gate installation is part fabrication, part concrete work, and part low-voltage electrical, and the order matters. Skip a step or rush the curing and the gate that looked perfect on day one is dragging by next summer. This is how a proper install runs from first phone call to the last test.
1. The Site Visit
Nothing useful can be decided over the phone. On the visit we measure the opening, check the driveway slope in both directions, look at where power is and how far it would have to run, note drainage and where water sits after rain, check clearance for gate leaves to swing (or fence line for a slide gate to travel into), and look at the soil and any tree roots near the post locations. That visit is also where swing versus slide gets settled, because slope and clearance decide it more than preference does.
2. Design and Approval
Next comes the gate design — style, height, picket spacing, whether it matches an existing fence, and any custom ornamental work. If you are in a deed-restricted neighborhood, this is where the architectural review submission happens, and it is worth doing carefully; a rejected submission sets you back weeks. Our HOA approval guide covers what committees actually want to see.
3. Fabrication
The gate is built in the shop while the site work gets scheduled. For a custom ornamental gate this is the longest part of the timeline — the frame is cut and welded square, pickets and decorative elements are fitted, and the whole thing is finished before it ever comes to your property. Fabricating in a shop rather than in a driveway is what makes the difference between a gate that is truly square and one that is close.
4. Utility Locates
Before anyone digs, 811 gets called. Gate posts go 30 to 36 inches deep, and driveway entrances are exactly where irrigation lines, low-voltage lighting, cable, and sometimes gas service run. Locates are free, legally required, and the reason a good crew will not dig the day they arrive if the marks are not down yet.
5. Posts and Footings
This is the step that decides whether your gate is still hanging true in ten years. Holes are augered deep and belled at the bottom so the footing cannot be pushed upward by expansive clay, the posts are set plumb and braced, and concrete is poured. Then everything stops while the concrete cures. On most residential jobs the crew comes back the following day to hang the gate; nobody should be hanging a heavy leaf on green concrete.
6. Power and Conduit
While the footings cure, the electrical side gets run: conduit trenched from the panel to the operator location, or the solar package set if there is no practical power run. Any 120V work is done by a licensed electrician. Low-voltage runs for keypads, photo eyes, and loops go in at the same time, because trenching twice is a waste of everyone’s day.
7. Hanging the Gate
The gate comes out, gets set on blocks at the right ground clearance, and is checked level and square before the hinges are welded or bolted. Ground clearance matters more than people expect: too high and the gap looks wrong and pets get through, too low and the leaf drags the first time the driveway heaves. On slide gates, this is where the track or cantilever hardware and rollers get set and aligned.
8. Mounting and Wiring the Operator
The operator is mounted, the arm or drive is connected, and the control box is wired. This is also where surge protection and the battery backup go in — both of which matter in Houston, where storms take out power and lightning takes out control boards. The operator is sized to the actual weight and width of the gate that was just hung, not to a generic residential spec.
9. Safety Devices and Access Control
Photo eyes are mounted and aligned, edge sensors fitted if the design calls for them, and any ground loops cut into the driveway and sealed. Then the access side goes in: keypad, remotes, phone or intercom entry. All the options are laid out in Gate Access Control Explained.
10. Programming, Testing, and Walkthrough
Limits are set so the gate stops exactly where it should in both directions, force is dialed in so it reverses on an obstruction without nuisance-tripping in wind, and every device gets tested: each remote, the keypad, the phone app, the photo eyes, the loops, and the entrapment protection as a whole. Then the walkthrough — where the manual release is and how to use it, how to program a new remote, what to do if the power goes out, and what maintenance the gate needs.
How Long It Takes
From signed quote to working gate, a straightforward residential install usually runs three to six weeks, and almost all of that is fabrication and, where applicable, HOA approval — not crew time at your house. The on-site portion is typically two days: one for locates, posts, and conduit, one after the concrete has cured for hanging, wiring, and testing. Custom ornamental work, long power runs, masonry columns, and permit requirements extend the front end.
What You Should Have Ready
- Clear access to the driveway for a truck and equipment on both work days
- Pets kept inside — the driveway will be open and the gate will not be closable mid-install
- Your HOA approval letter, if applicable
- Sprinkler zones near the entrance marked or turned off
- A decision on who needs remotes and what keypad codes you want
Signs of a Rushed Install
Posts set shallow or in a straight-sided hole with no bell. The gate hung the same day the concrete was poured. An operator chosen before the gate was weighed. Photo eyes skipped or aimed carelessly. No surge protection. No walkthrough at the end. If you are still choosing a company, our list of nine things to check covers how to spot these before you sign.
Free site visit and a written scope, start to finish
We fabricate in-house and install with our own crew across Houston, The Woodlands, Katy, Spring, Cypress, Sugar Land, and surrounding areas. See recent work in our project gallery. More on our gate installation page.